Open the Trezor's box. After breaking the seal, if it is hard to open it this is a good sign that the device has not been handled or compromised.
You will find inside the Trezor One device, a USB cable to connect it to the computer, a Getting Started card, some stickers, and 2 cards to write down the seed.
Open a browser and go to https://trezor.io/start/ as it is indicated in the box and in the Getting Started card.
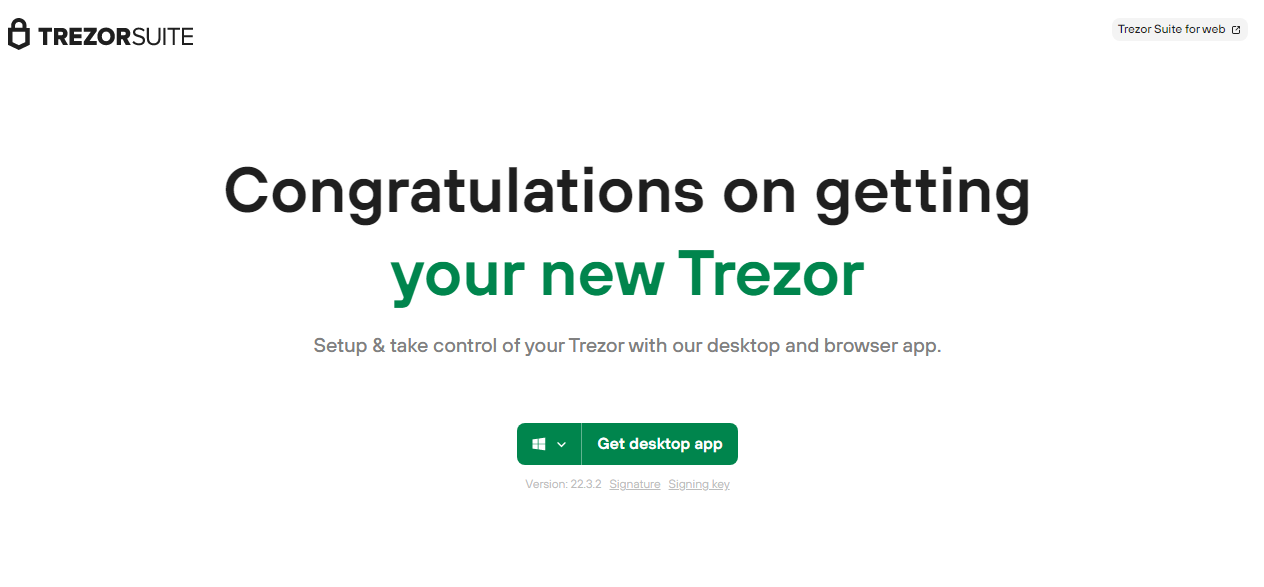
The path in the address bar will change to https://suite.trezor.io/start/ and you’ll see the screen above.
Choose the right Operating System and click Get desktop app to download it.
¶ Installing Trezor Suite
First steps with your new Trezor wallet.
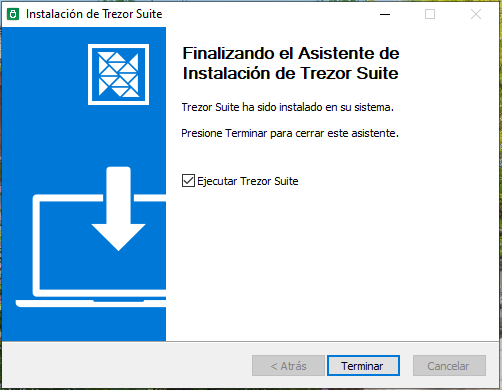
After the download is completed, you must run the downloaded file from Trezor's site.
At the end of the installation process, the following dialog box will appear, click on "Finish" verifying that the option "Run Trezor Suite or Ejecutar Trezor Suite" (depending on the PC's language) is selected to open the application.
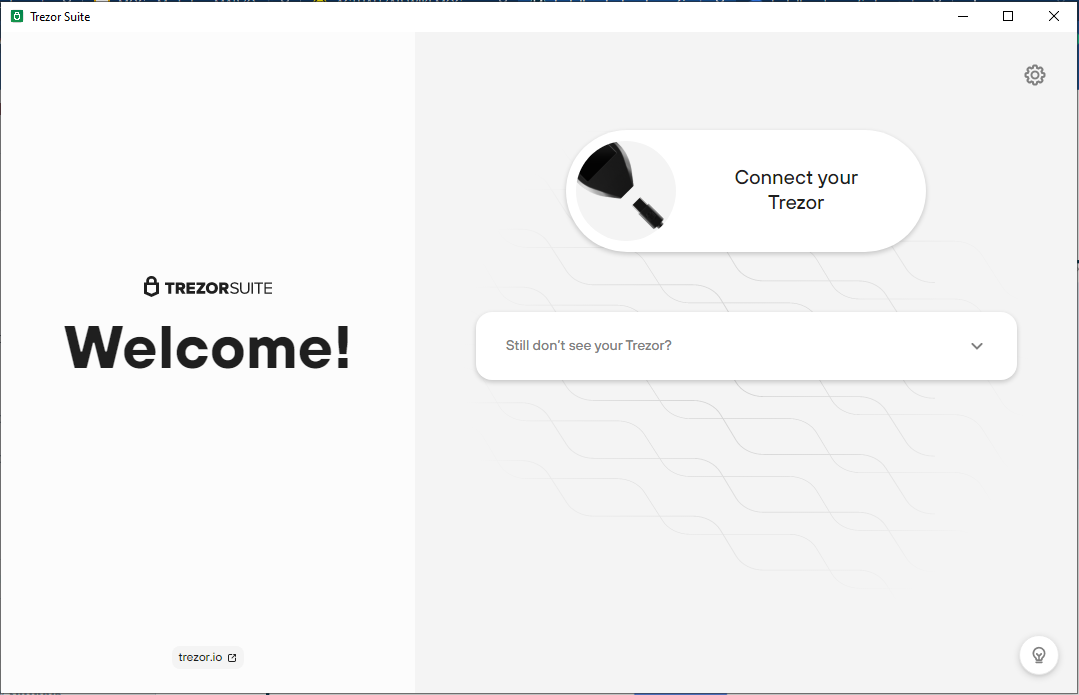
A welcome screen like this will appear. Connect your device and click Confirm.
A security check dialog box appears, verify and click Setup Trezor.
¶ Configuring the wallet
Configuring the Trezor Wallet securely
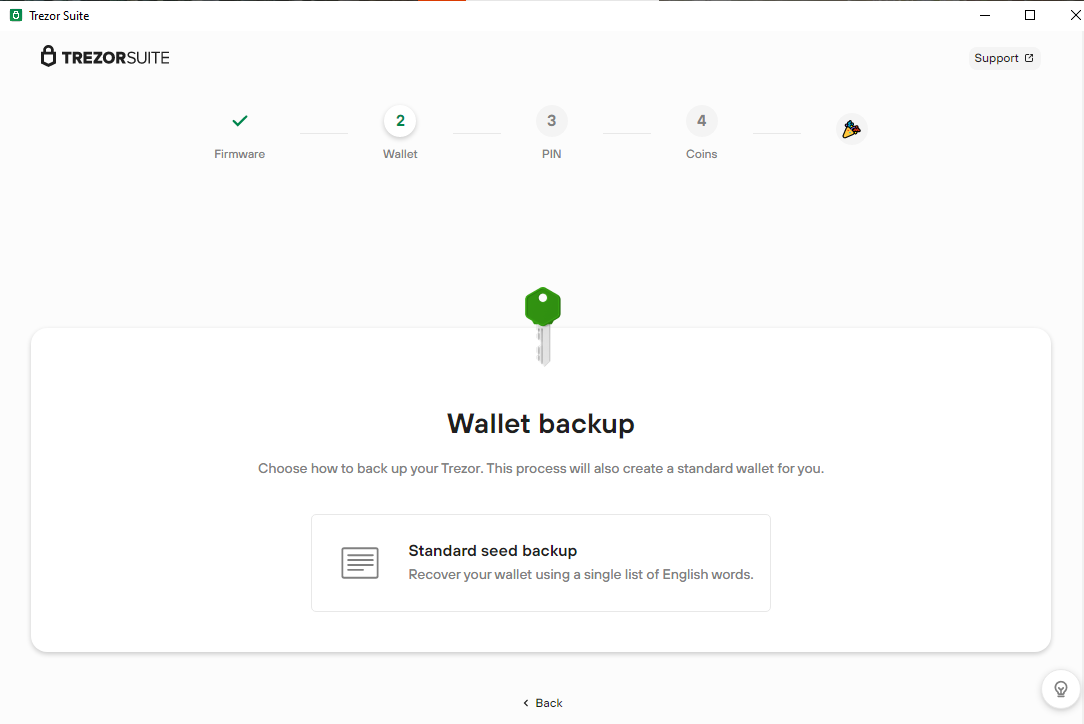
It is time to configure the wallet. This procedure will require your attention for a few minutes, so find a quiet place and a pen to write the recovery phrase (24 words). You can use the cards that come with the Trezor.
In these steps you must do the following:
record the recovery phrase in a handwritten form with a pen (never digitally)
set the PIN to unlock the device (similar to how you do it with your phone)
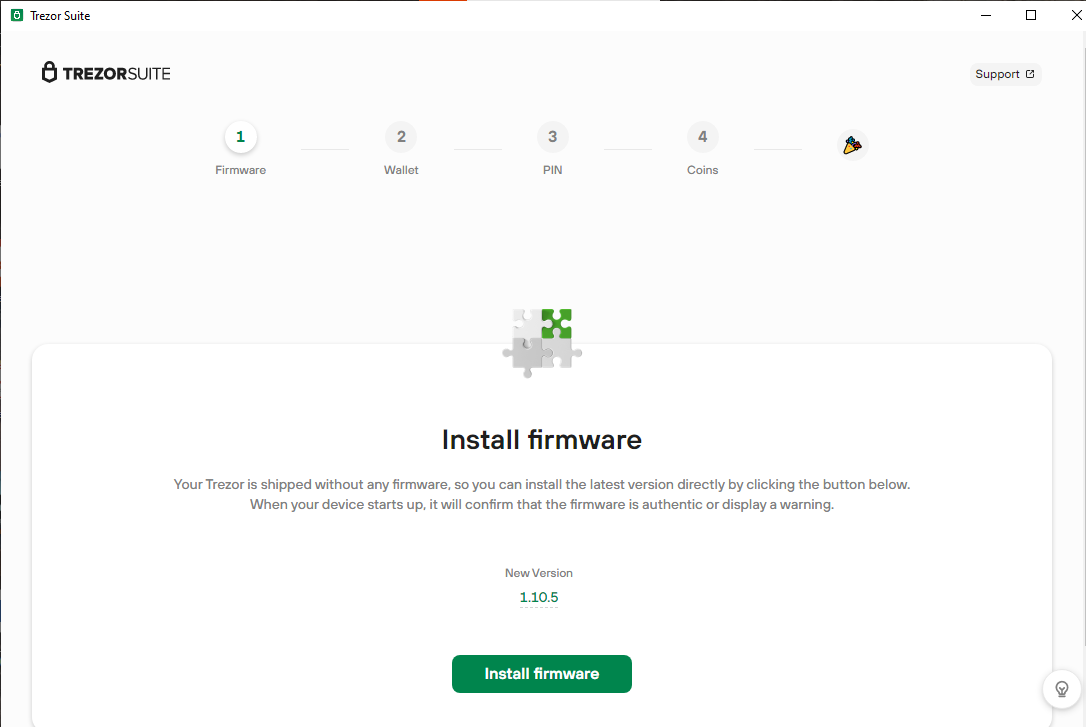
First of all, it will be required to install the latest version of the firmware in your device, click Install Firmware to continue.
After Firmware installation is ready, you will be asked to create a new wallet or recover one. Click on Create new wallet to continue.
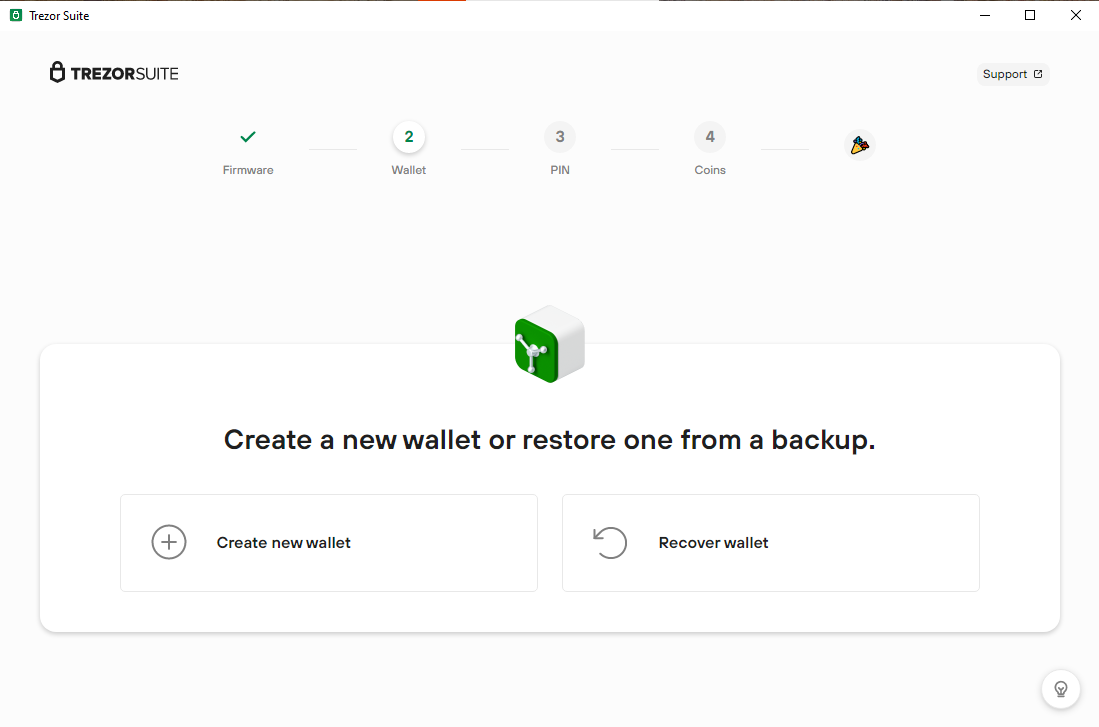
¶ Create new wallet
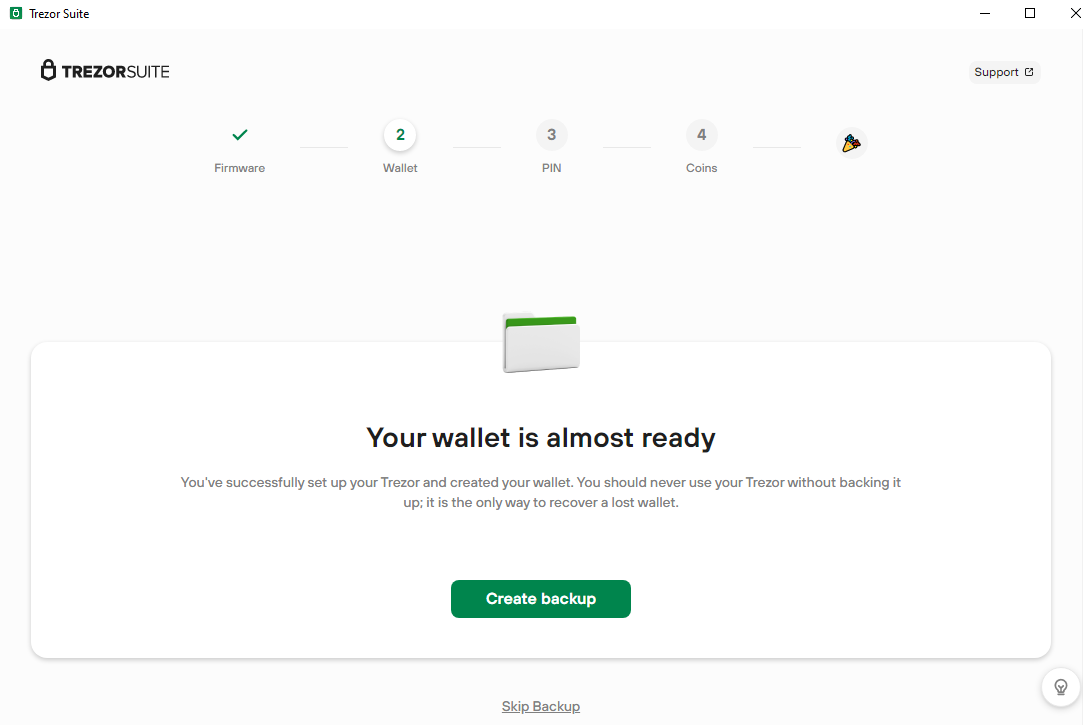
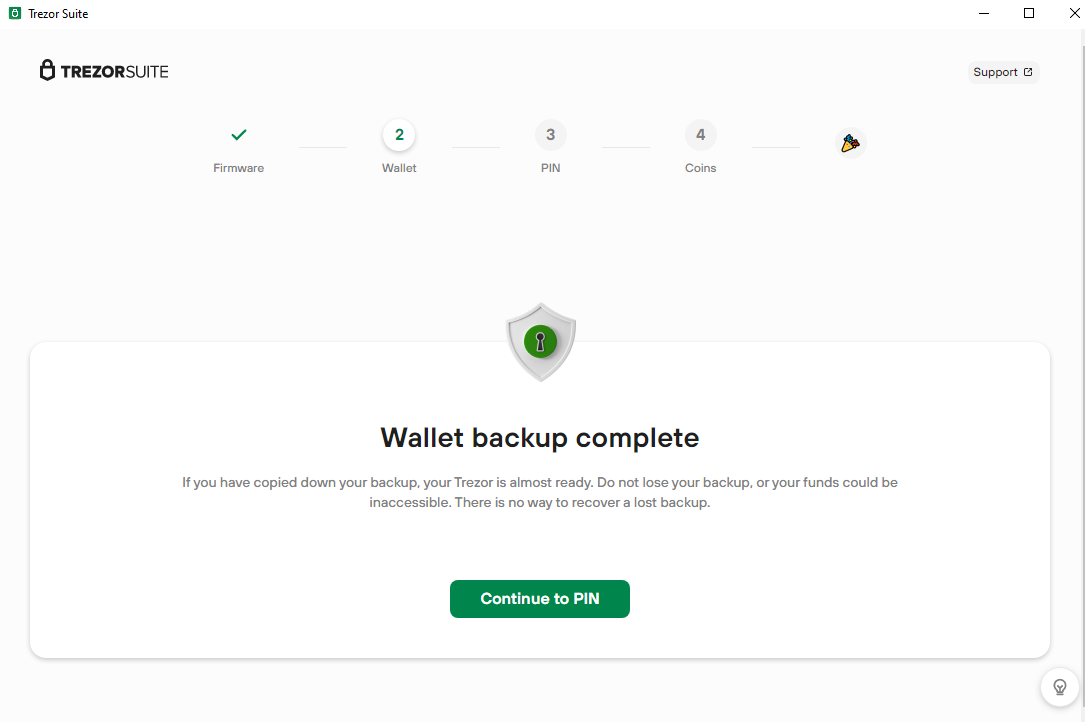
Now that the wallet is created, the app will ask you to create a backup. Please click on Create Backup to proceed.
But before creating the backup you will have to check the 3 boxes with important information about it.
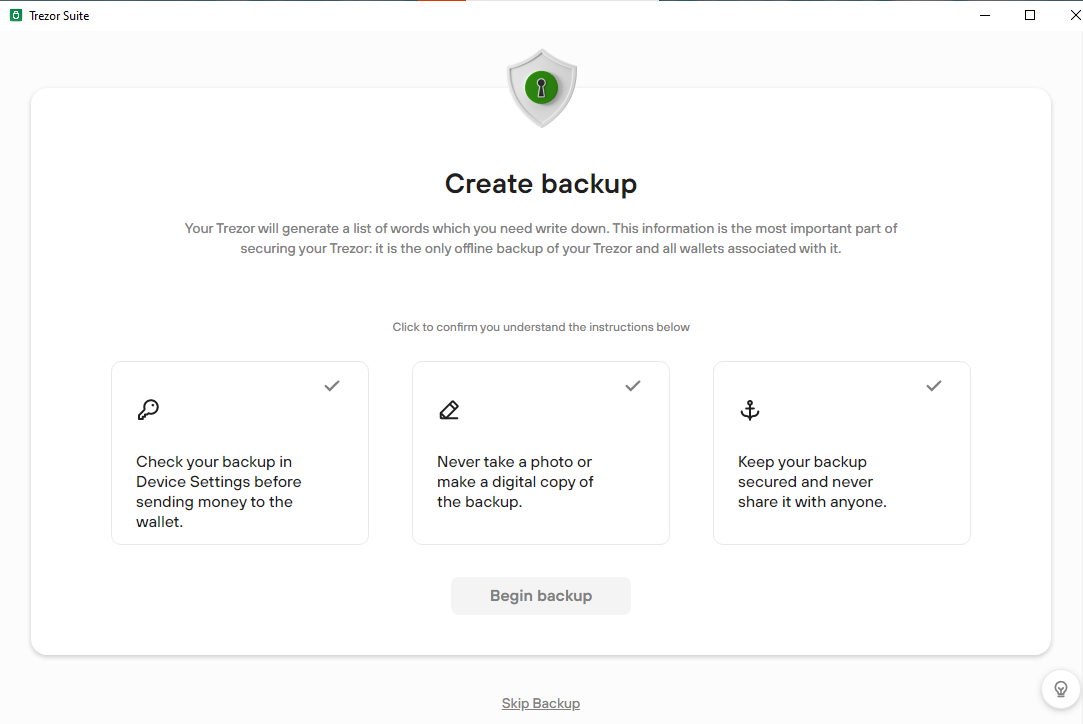
Begin Backup
Your Trezor device will give you one by one the 24 words seed phrase that you need to write down on a piece of paper o the cards that come with it. Then to set up a PIN click on Continue to PIN.
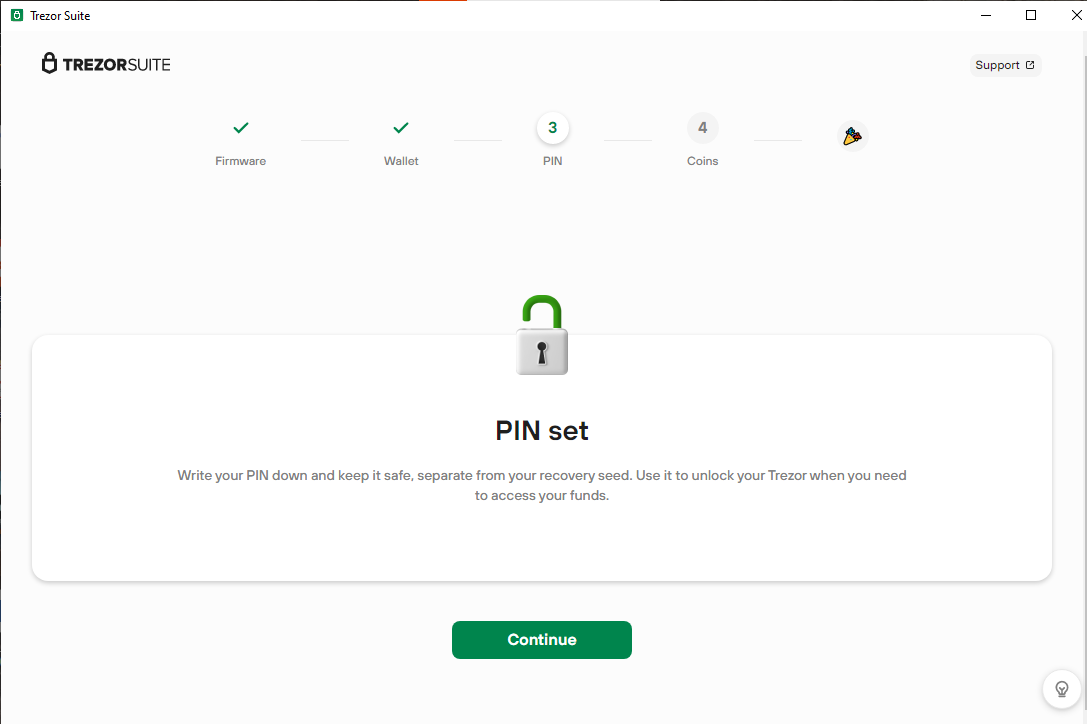
Configure a PIN
Follow instructions to set the PIN and click Continue.
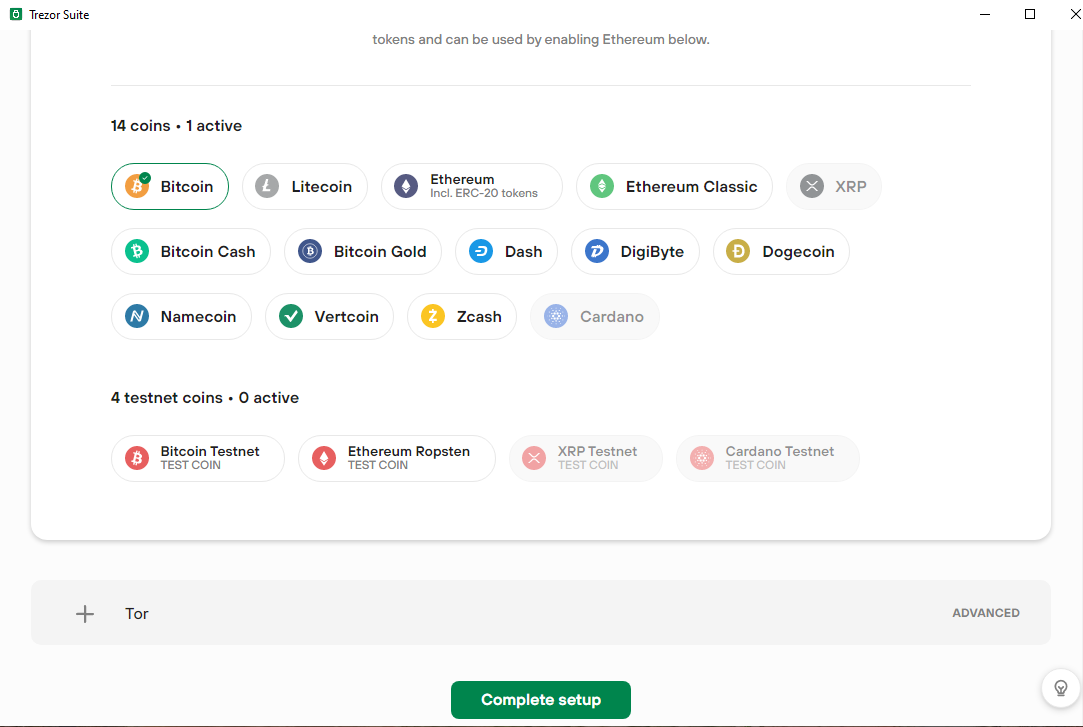
With the backup and PIN set, you are ready to activate the coins you want. In order to be able to connect to Money On Chain web app you need to activate Ethereum.
Although it is not needed, you can also configure at this stage a connection to TOR to enhance the security
After this step the setup of your device is complete.
On this screen, you can also edit the name of your device or click on Access Suite.
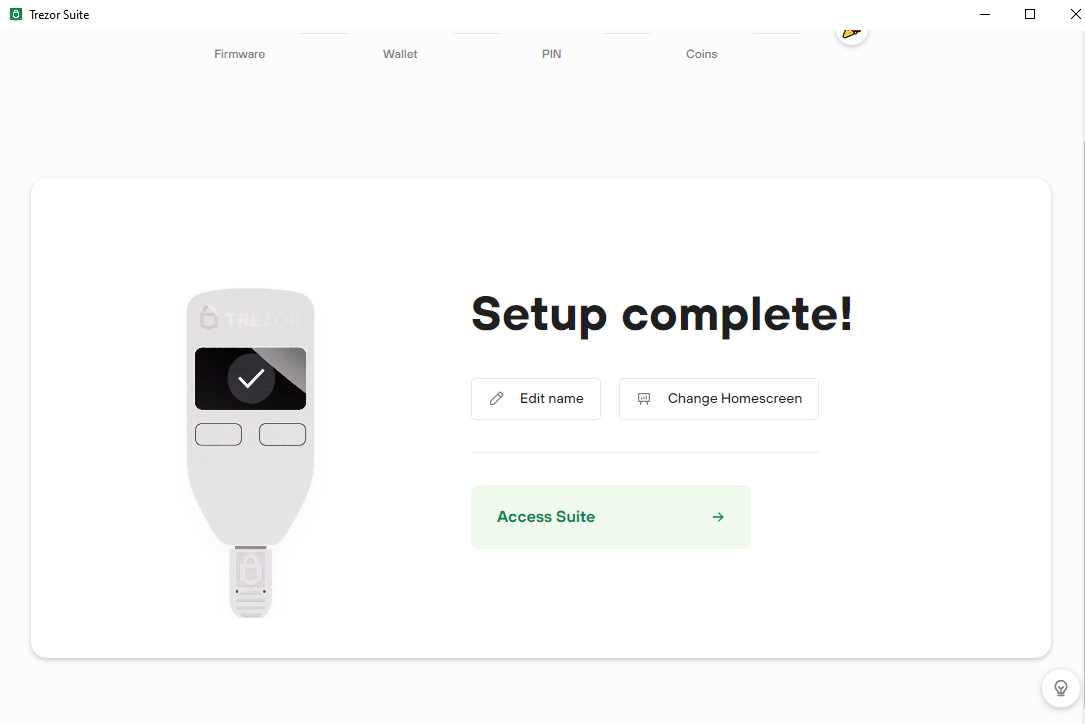
Setup Complete
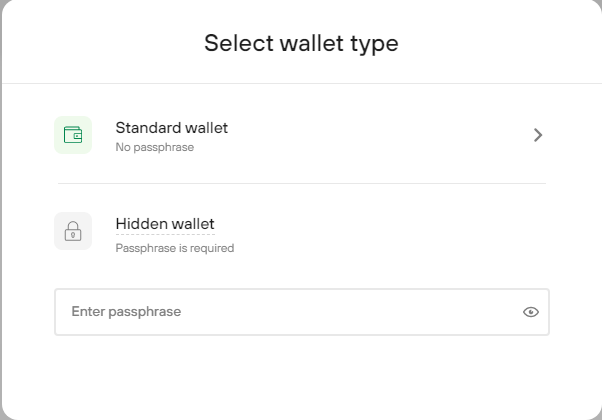
Finally, you l be prompted to select if you want a standard wallet or if you want to hide it with a passphrase.
Now you are ready to connect to the web dApp.
¶ Logging in to the platform
Guide to access the Money On Chain platform using a Trezor wallet.
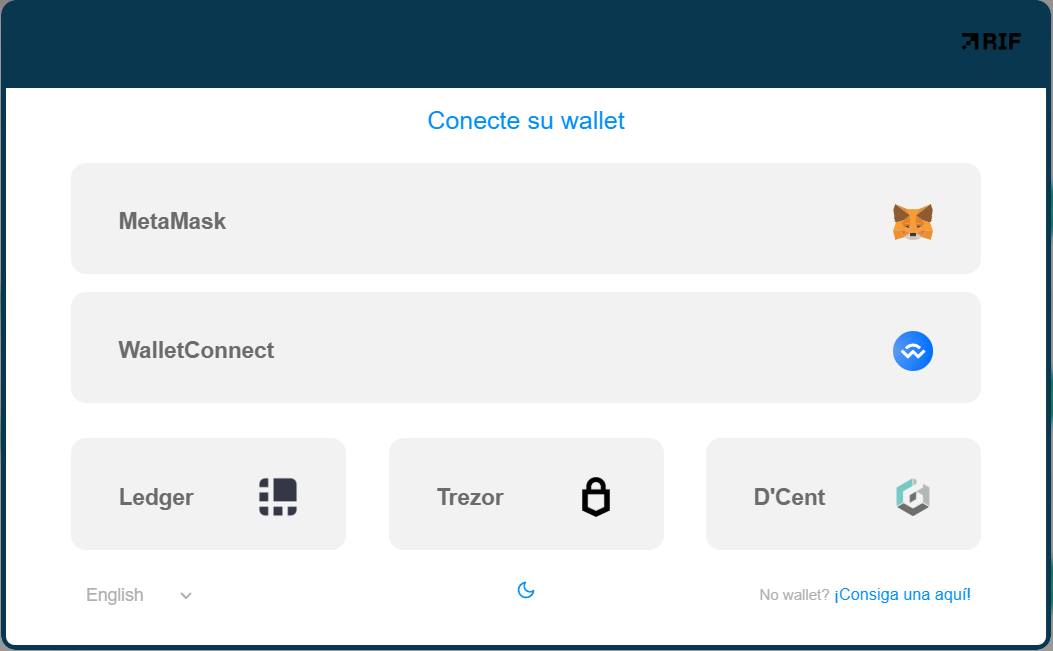
Go to Money on Chain platform https://dapp.moneyonchain.com/
You will be prompted with rLogin to select the wallet of your choice, in this case, Ledger. Otherwise, click Connect button in the up right corner of the web app.
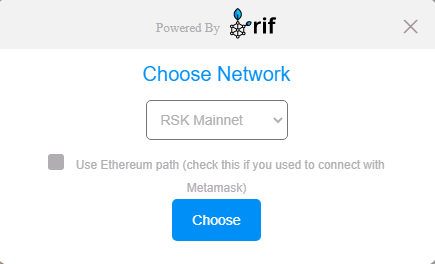
Once you click the Trezor button, you will have to choose the network, make sure that RSK Mainnet is displayed and click Choose.
Then you will be presented with a list of addresses showing the corresponding balance, and a specific path. Select the address of your choice and click Confirm.
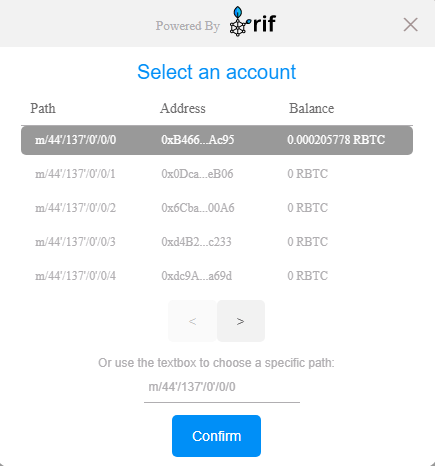
Finally confirm the selected address, network, and derivation path. Click Confirm and the Trezor will ask you to sign a message.
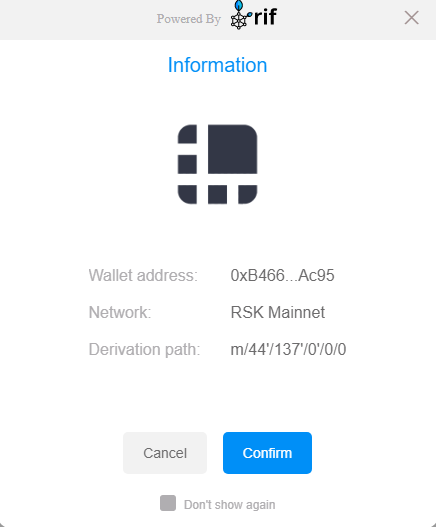
If you want to be asked every time you connect, you can click "Don't show again".
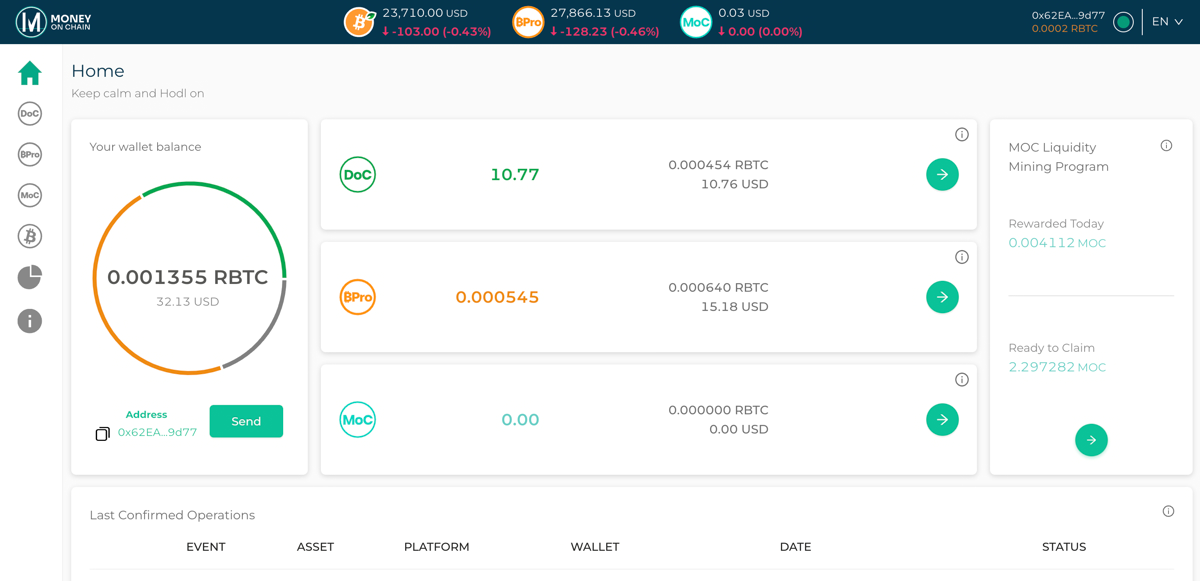
Once the signature is confirmed on the device, you will have entered the platform.
Disconnect the Trezor if not in use.